Why Is My Sourdough Not Rising? The Baking Bros. Fix
Why Is My Sourdough Not Rising? The Baking Bros. Fix
- By The Baking Bros. | Baking Bros. Blog
"We don't gatekeep secrets here."
We've seen it hundreds of times in our bakery over the past 20 years. A baker puts in the hours—feeding the starter, measuring carefully, watching the clock—and then opens the oven to find a loaf that barely moved. Dense. Flat. Heartbreaking.
Here's what we want you to know: this is not a failure. It's a lesson. Every flat loaf is your dough telling you something specific. And once you learn to listen, you'll never bake a brick again.
This guide covers the four most common reasons sourdough doesn't rise—and exactly how to fix each one. No vague advice. No gatekeeping. Just the real answers from bakers who have spent decades troubleshooting this exact problem.
1. The #1 Culprit: A Weak or Inactive Starter
Before you blame your flour, your oven, or your technique—look at your starter. In our experience, a sluggish starter is responsible for the majority of flat sourdough loaves. Your starter is the engine of the entire process. If it isn't producing enough carbon dioxide, your dough simply has nothing to rise with.
A healthy, active starter has three clear signs:
- It doubles in size within 4–6 hours of a fresh feeding
- It is bubbly and effervescent throughout
- It passes the float test—drop a small spoonful into a glass of water, and it should float
If your starter isn't doing all three of these things consistently, fix it before you bake another loaf.
Starter Diagnosis Table
| Symptom | Likely Cause | The Fix |
|---|---|---|
| Not doubling consistently | Infrequent feeding, wrong flour, or temperature too cold | Feed twice daily; use a 50/50 blend of bread flour and whole rye flour; keep it at 75–80°F (24–27°C) |
| Floats, but bread is still flat | Starter used too early or too late—missed the peak | Use your starter at its maximum height, still bubbly—typically 4–6 hours after feeding |
- The 3-Day Starter Revival. If your starter needs rescuing, run this protocol: feed it twice a day for three consecutive days using a 1:1:1 ratio (1 part starter : 1 part water : 1 part flour) in a warm spot. By day three, you should see noticeably stronger, more consistent activity.
2. The Timing Trap: Under-Proofing vs. Over-Proofing
Once your starter is strong, the next place things go wrong is proofing. There are two stages—bulk fermentation (the long first rise) and the final proof (the shorter second rise, often in the fridge overnight). Both under-proofing and over-proofing produce a dense, flat loaf—but for completely different reasons.
The single most reliable way to know where your dough stands is the poke test.
The Poke Test
Press a floured finger gently into the surface of your dough and watch what happens:
| Result | What It Means | What To Do |
|---|---|---|
| springs back immediately and completely | Under-proofed—gluten is too tight, not enough gas | Give it more time; the crumb will be dense with poor oven spring |
| springs back slowly, leaving a small dimple | Perfectly proofed—ready to bake | Score it and get it in the oven now |
| Doesn't spring back at all; dough feels fragile | Over-proofed—gluten structure has broken down | Bake immediately to salvage what you can; the loaf may collapse |
- The most important rule in proofing: watch your dough, not your clock. A warm kitchen can cut proofing time in half. A cold kitchen can double it. Temperature is the variable most home bakers underestimate.
3. Shaping: The Tension That Makes the Loaf
Think of your proofed dough as a balloon filled with gas. If that balloon has no structure—no taut skin holding it together—it won't rise upward. It will spread outward. Shaping is how you build that structure.
A properly shaped loaf has a tight, smooth exterior that traps the gases inside and directs the expansion upward during baking. Without it, even a perfect starter and perfect proofing won't save you.
How to Shape for Maximum Oven Spring
- Step 1 — Pre-Shape. After bulk fermentation, gently turn the dough onto an unfloured surface and form it into a loose round. Cover it and let it rest for 20–30 minutes. This relaxes the gluten and makes final shaping much easier.
- Step 2 — Final Shape. For a boule (round) or batard (oval), use folding and tucking motions to create a taut skin on the exterior. The dough should feel firm and hold its shape when you're done.
- Step 3 — Handle Sticky Dough Correctly. If the dough is sticking, use a bench scraper rather than adding more flour. Excess flour dries out the dough and weakens the crust.
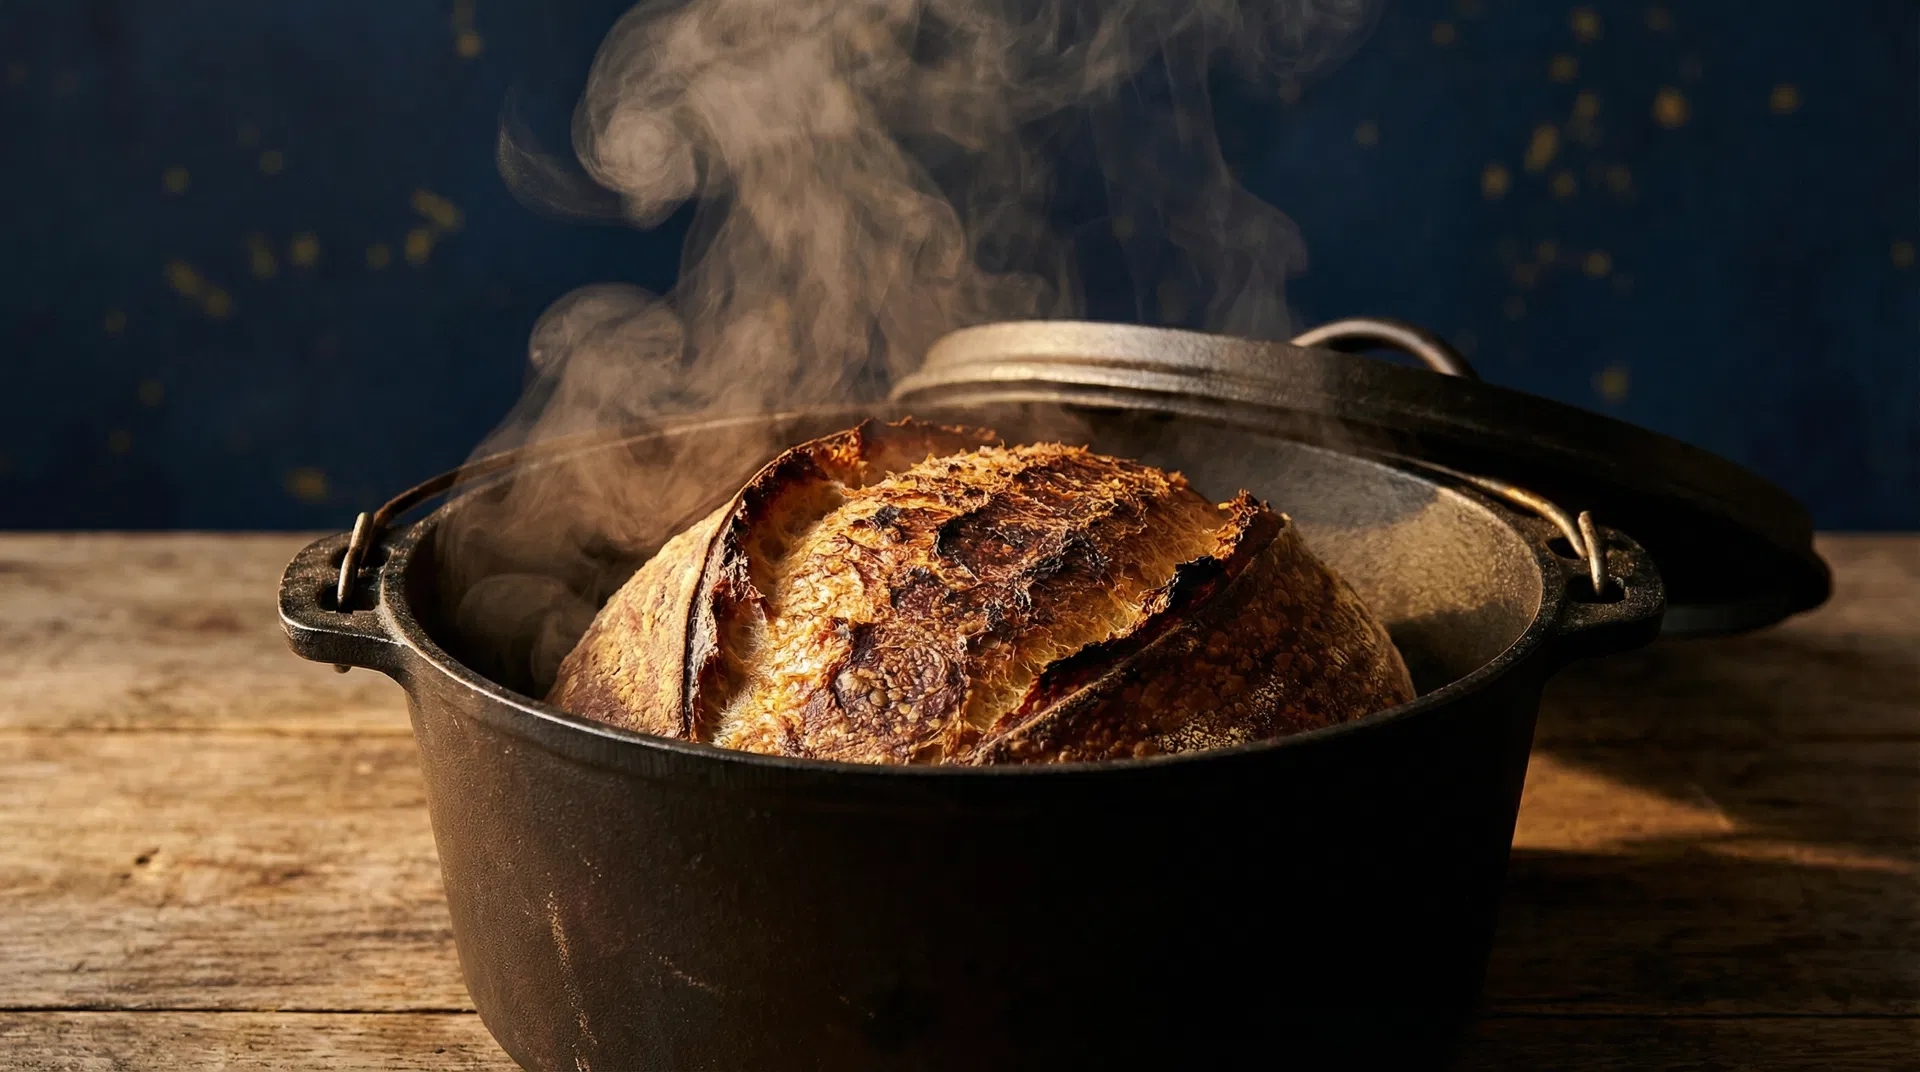
4. The Baking Environment: Steam, Heat, and the Dutch Oven
You've done everything right—strong starter, perfect proof, tight shape. Now comes the final variable: the oven. And this one surprises a lot of home bakers.
Sourdough needs steam in the first phase of baking. Steam keeps the crust soft and pliable long enough for the dough to fully expand before the exterior sets. Without steam, the crust hardens too fast and traps the loaf—preventing that dramatic oven spring.
Why We Recommend a Dutch Oven
A preheated Dutch oven is the closest thing a home baker has to a professional deck oven. When you place your dough inside and close the lid, the moisture released by the dough creates its own steam environment. Combined with the intense radiant heat from the preheated cast iron, you get an immediate, powerful burst of energy that sends the loaf upward.
- Bake covered for the first 20 minutes, then remove the lid to develop the crust.
No Dutch Oven? Here's What to Do Instead
- Baking stone or steel + water pan: Preheat the stone or steel thoroughly. Place a tray of hot water on the bottom rack of the oven for the first 20 minutes of baking to generate steam.
- Lava rocks method: Place lava rocks in a pan on the oven floor. Pour boiling water over them just before loading your bread to create a burst of steam.
The Bottom Line
Sourdough is a living process, and flat loaves are part of learning it. But they don't have to keep happening. Run through these four checkpoints every time:
1. Is your starter truly active? Float test, doubles in 4–6 hours, fed on schedule. 2. Did you nail the proofing? Poke test, not the clock. 3. Did you build real tension when shaping? Tight skin, pre-shape rest, bench scraper over extra flour. 4. Did you create a steamy baking environment? Dutch oven or steam alternative, covered for the first 20 minutes.
Fix one variable at a time. Keep notes on each bake. And remember—we've been baking bread in Puerto Rico for over 20 years, and we still learn something from every loaf.
- That's the craft. That's the point.
- Want to go deeper? Check out our guides on building a sourdough starter from scratch, mastering scoring patterns, and choosing the right baking vessel. We don't gatekeep secrets here.
- — The Baking Bros.
Recommended Tools for Why Is My Sourdough Not Rising? The Baking Bros. Fix
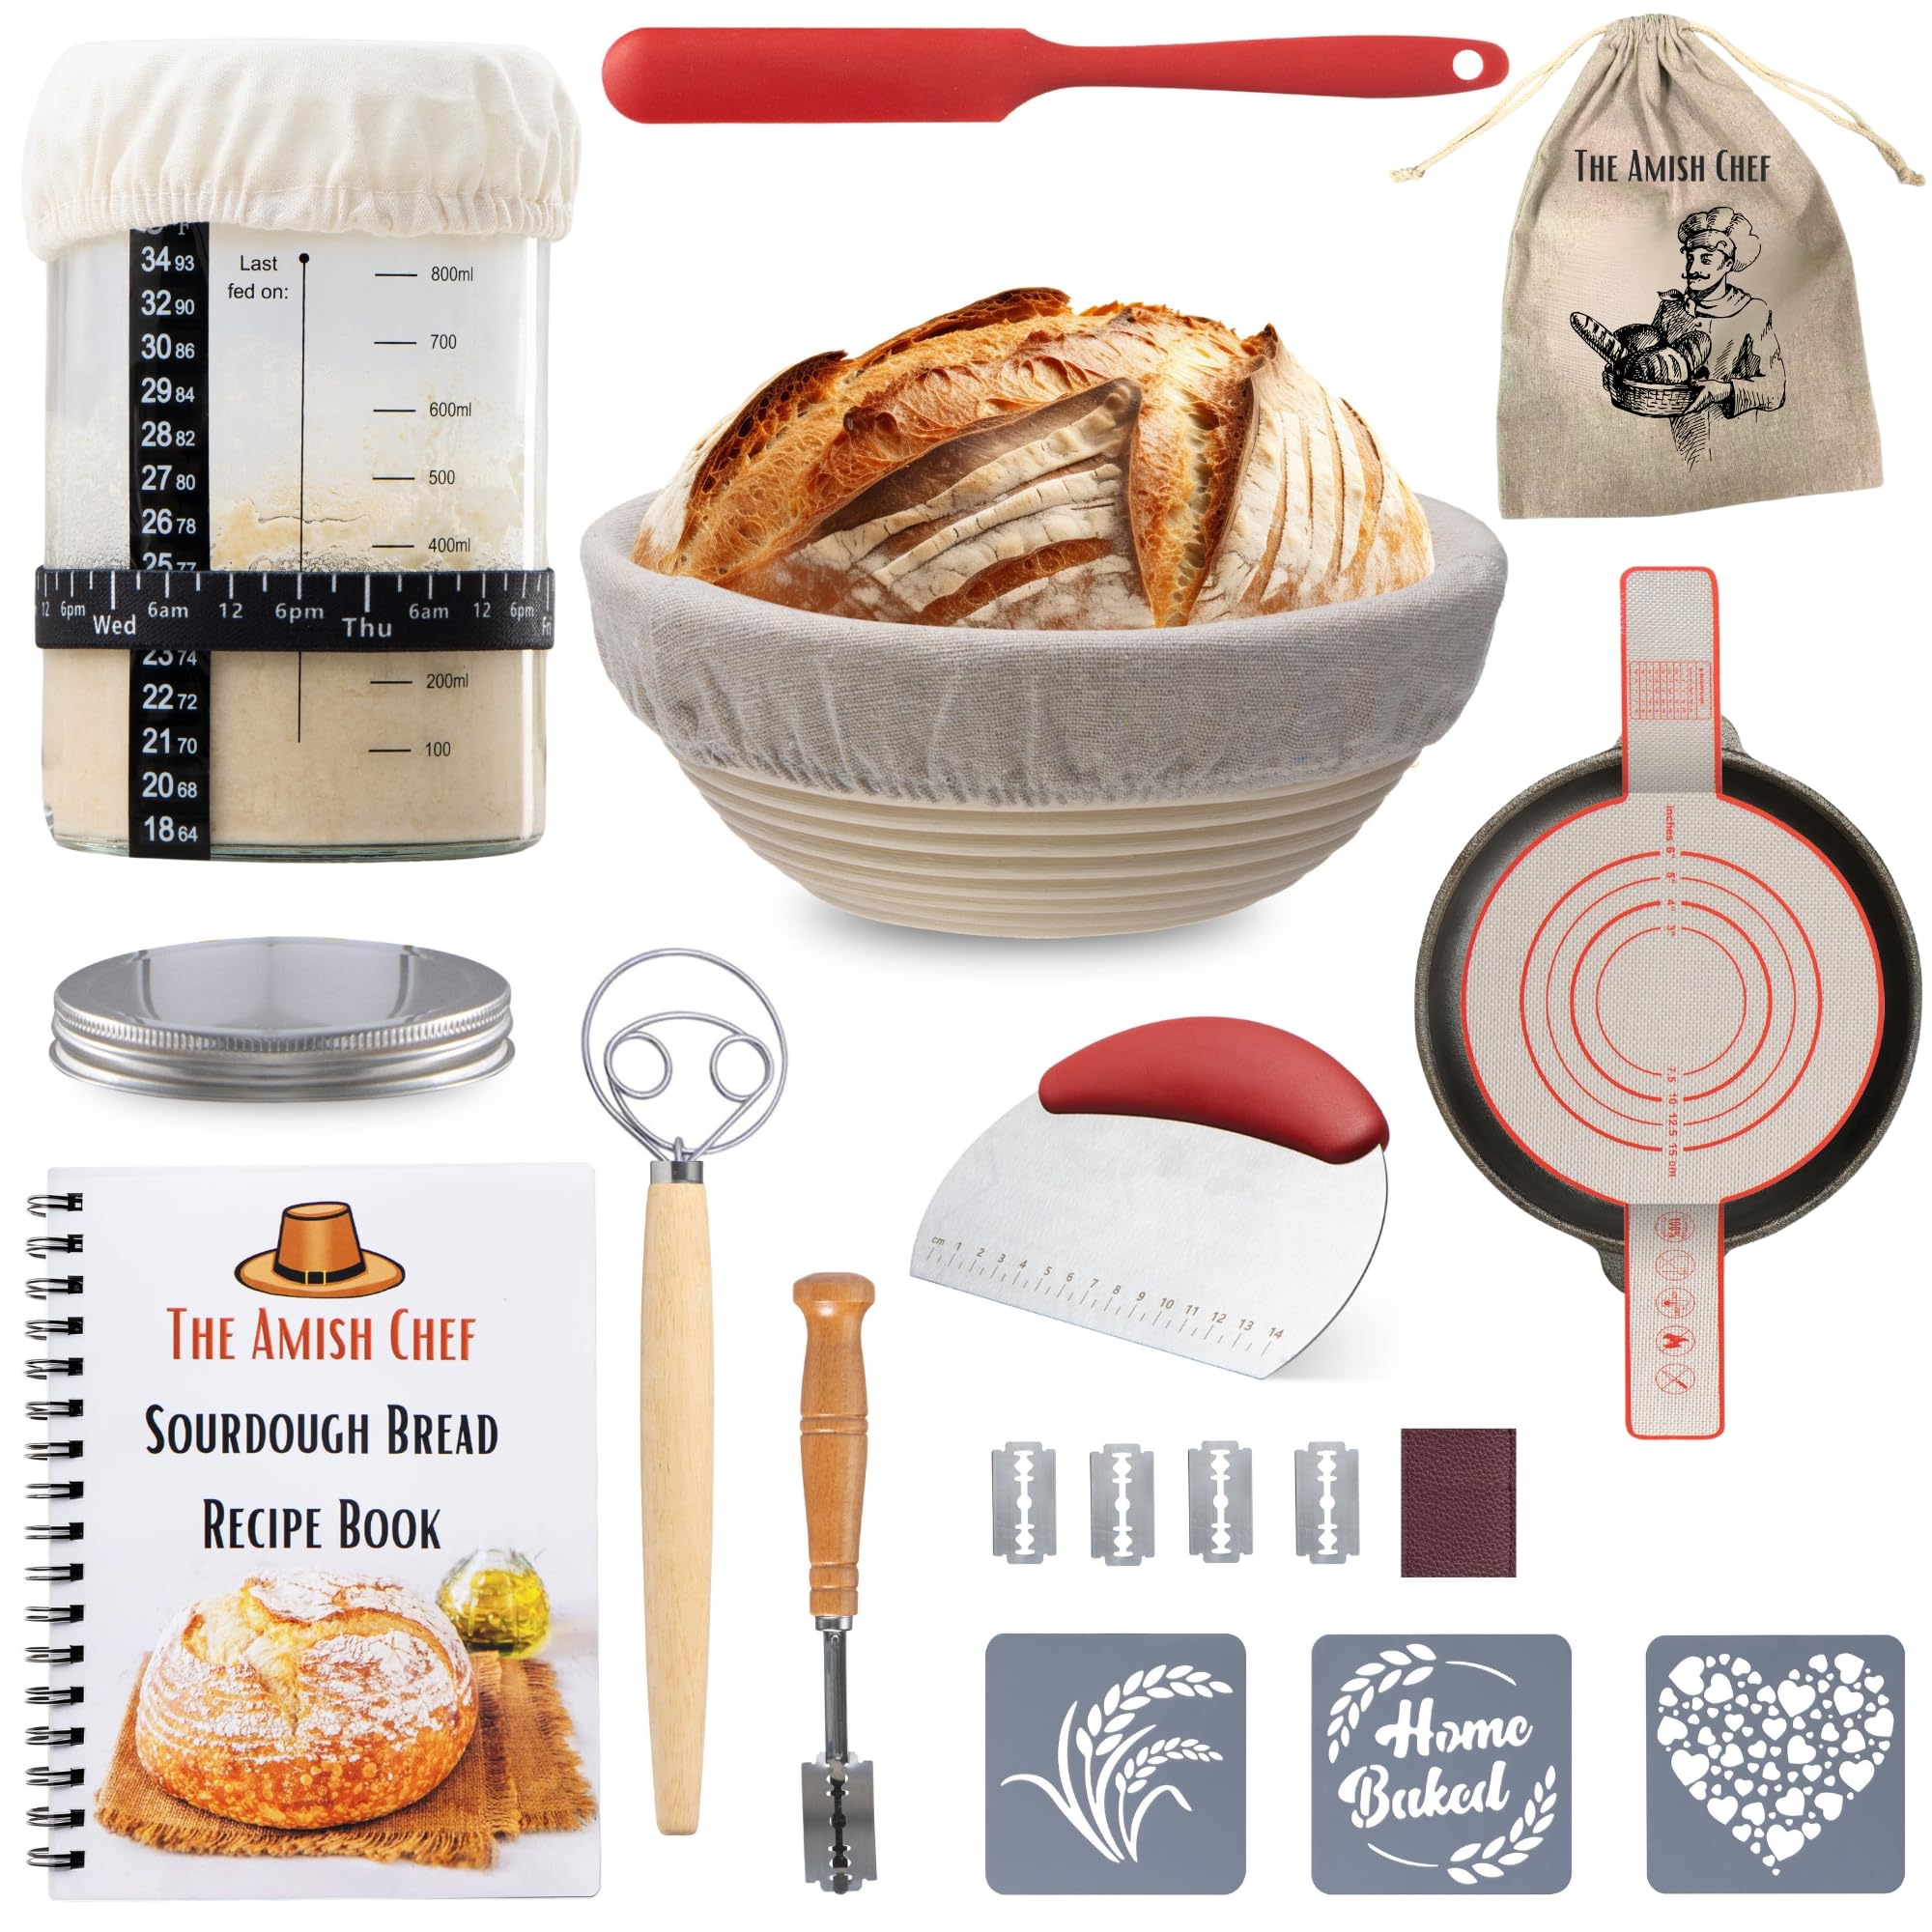
Sourdough Starter Kit with Dutch Oven and Scale
Complete sourdough baking kit with 5.5 QT Dutch oven, digital scale, banneton basket, bread sling, and thermometer. Everything you need to start your sourdough journey.

OXO Good Grips 11-Pound Stainless Steel Kitchen Scale
Precision is everything in bread. This professional-grade scale measures in 1/8 oz and 1-gram increments with a pull-out display.
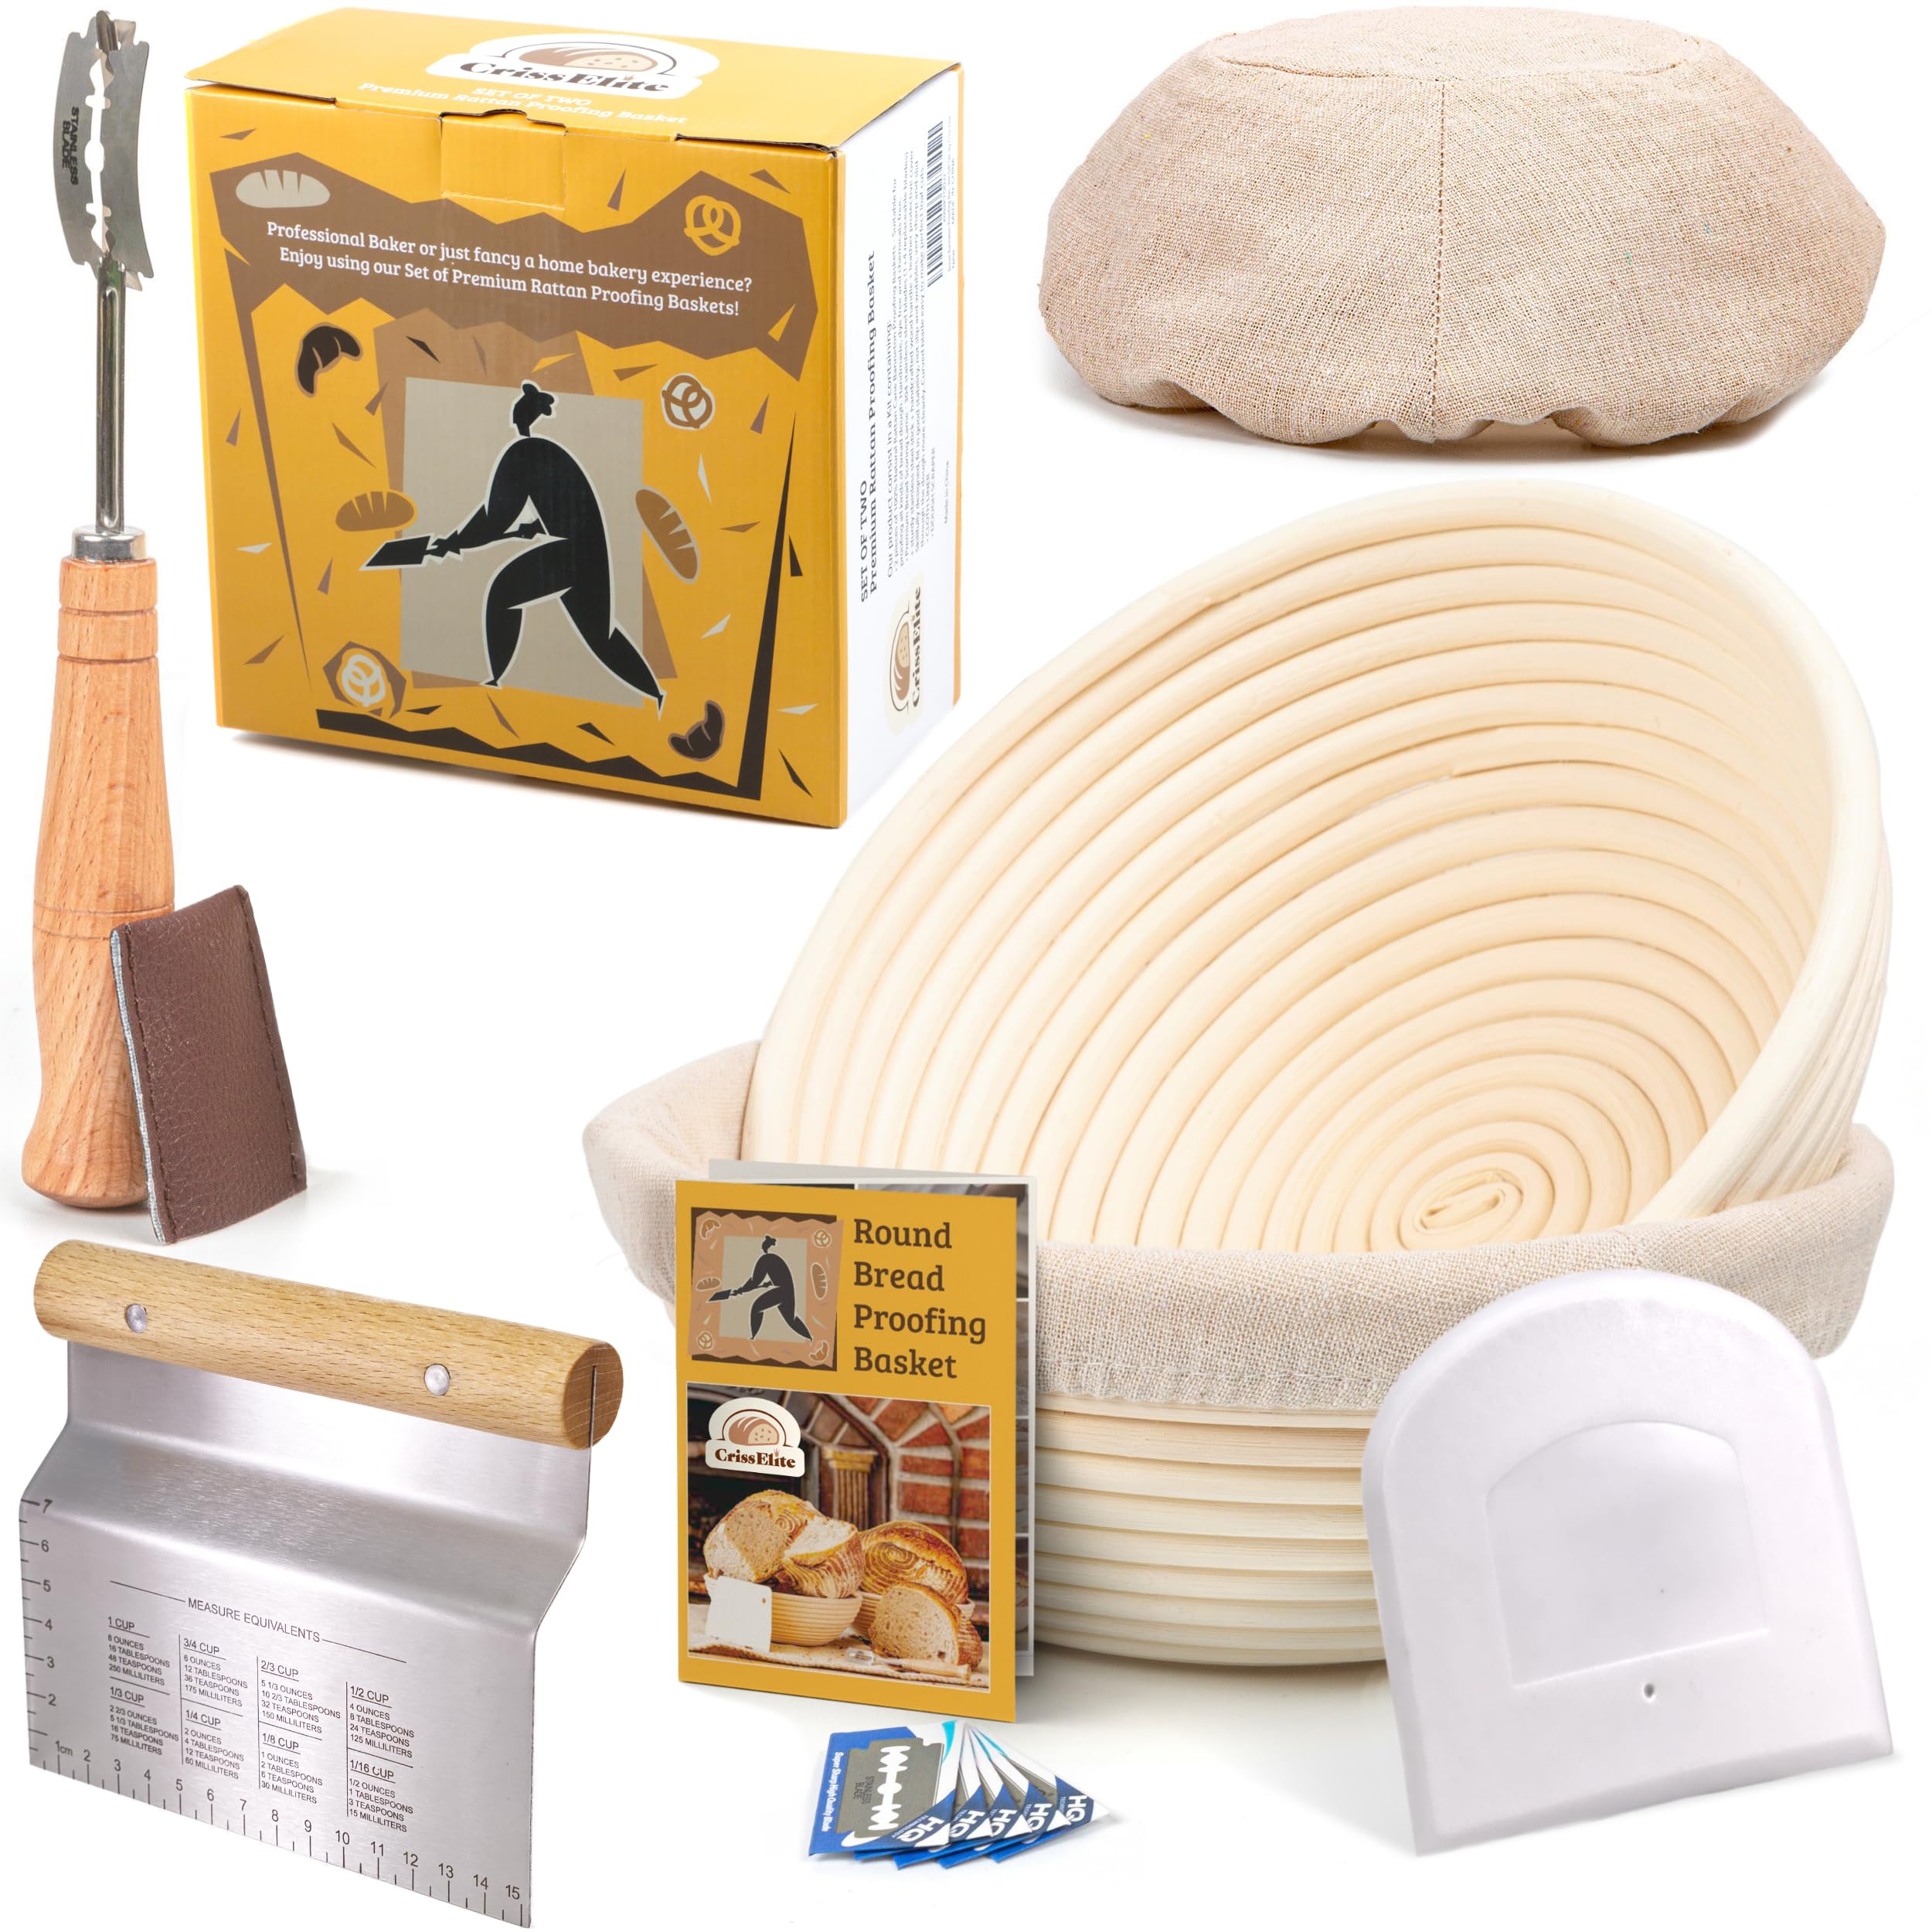
Bread Banneton Proofing Basket Set (2-Pack)
Professional rattan banneton baskets for bread proofing and shaping sourdough loaves. Includes liners for easy cleanup.
Get Your Free Donut Recipe
Subscribe to our newsletter and get instant access to our signature donut recipe, plus weekly baking tips and troubleshooting guides.
Explore Our Full Kitchen
Discover all the tools and equipment we recommend for your baking journey.
Shop My KitchenMore from breads
More articles coming soon in this category.