
Bread Baking for Beginners: Everything You Need to Know (From 20+ Years in Our Puerto Rican Bakeries)
Bread Baking for Beginners: Everything You Need to Know ## From 20+ Years in Our Puerto Rican Bakeries
- By The Baking Bros. | Baking Bros. Blog
"The first loaf you bake will not be perfect. The second will be better. By the tenth, you'll understand why we've never stopped."
We've been baking bread in Puerto Rico for over two decades. In that time, we've watched hundreds of first-time bakers walk into our bakeries with wide eyes and nervous hands — and walk out months later with the confidence of seasoned artisans. The transformation never gets old.
Here's what we know for certain: bread baking is not as complicated as the internet makes it seem. You don't need a stand mixer, a steam-injected oven, or a culinary degree. You need a few good ingredients, a willingness to learn from your dough, and the right guidance from people who have made every mistake so you don't have to.
This guide answers the ten most common questions beginners ask us — the same questions people search for every day. We're not holding anything back.
What Are the Essential Tools for a First-Time Bread Baker?
Before you buy anything, understand this: the most important tool in bread baking is your hands. Every piece of equipment is secondary to developing a feel for your dough. That said, a few tools will make your early baking sessions dramatically more successful.
- The non-negotiables for your first loaf:
A kitchen scale is the single most important purchase you can make. Bread baking is a science, and measuring flour by volume (cups) introduces significant error — a packed cup of flour can weigh 20–30% more than a loosely scooped one. A digital scale removes all guesswork and is the reason professional bakers measure everything in grams. We recommend the OXO Good Grips 11-pound scale — it's precise, durable, and used in our bakeries daily.
A Dutch oven (also called a cocotte or French oven) is your secret weapon for a bakery-quality crust at home. When you bake bread inside a preheated Dutch oven with the lid on, the steam released by the dough creates the same humid environment as a professional deck oven. The result is a loaf with a crackling, golden crust and an open, airy crumb. The Lodge 5.5-quart Dutch oven is the gold standard for home bakers — cast iron retains heat beautifully and lasts a lifetime.
A bench scraper (also called a dough scraper) is a flat metal or plastic tool that costs under $15 and will become indispensable. Use it to divide dough, scrape sticky dough off your work surface, and shape loaves without tearing the gluten structure.
An instant-read thermometer takes the guesswork out of two critical moments: checking that your water is the right temperature for yeast activation (between 100°F and 110°F / 38°C–43°C) and confirming your loaf is fully baked (internal temperature of 200°F–210°F / 93°C–99°C).
Everything else — banneton baskets, lame scoring tools, proofing boxes — comes later, once you've fallen in love with the process. Start simple.
How Do I Choose the Right Flour for Baking Bread at Home?
Flour is the foundation of every loaf, and choosing the wrong type is one of the most common beginner mistakes. The key variable is protein content, which determines how much gluten your dough can develop.
| Flour Type | Protein Content | Best For |
|---|---|---|
| Bread Flour | 12–14% | Sandwich loaves, sourdough, artisan breads |
| All-Purpose Flour | 10–12% | Flatbreads, quick breads, beginner loaves |
| Whole Wheat Flour | 13–14% | Dense, nutty loaves; best blended with bread flour |
| Cake Flour | 7–9% | NOT for bread — too low in protein |
For your first loaf, bread flour is your best choice. Its higher protein content makes gluten development easier and more forgiving, giving you better structure and a more satisfying chew. All-purpose flour works in a pinch, but your loaves will be slightly denser.
A note on whole wheat: it's nutritious and flavorful, but the bran particles in whole wheat flour can cut gluten strands, making it harder to develop structure. We recommend starting with 100% bread flour and gradually incorporating whole wheat (up to 20–30%) once you're comfortable with the basics.
- Our recommendation for beginners: King Arthur Bread Flour. It's consistently milled, widely available, and the protein content is reliable batch to batch. We've used it in our bakeries for years.
What's the Best Beginner Bread Recipe? (Easy No-Knead Method)
The no-knead bread method, popularized by Jim Lahey of Sullivan Street Bakery, is the perfect starting point for beginners. It requires no special equipment, no kneading technique, and produces a genuinely impressive artisan loaf. Here's our Baking Bros. version, refined over years of testing:
Baking Bros. No-Knead Beginner Bread
- Ingredients:
- 430g (3½ cups) bread flour
- 1g (¼ tsp) instant yeast
- 8g (1½ tsp) fine sea salt
- 345g (1½ cups) room-temperature water
- Method:
- Night before (5 minutes of work): Combine flour, yeast, and salt in a large bowl. Add water and stir with a wooden spoon or your hand until no dry flour remains — the dough will look shaggy and rough. Cover the bowl tightly with plastic wrap and leave it at room temperature for 12–18 hours.
- Morning of baking: Your dough should have risen significantly and be covered in bubbles. Turn it out onto a lightly floured surface. Fold it over itself a few times to shape it into a rough ball. Let it rest on a floured towel for 15 minutes, then shape it into a tighter ball. Place it seam-side up in a floured bowl or banneton, cover, and let it rise for another 2 hours.
- Baking: Place your Dutch oven (with lid) in the oven and preheat to 450°F (230°C) for at least 30 minutes. Carefully lower the dough into the hot Dutch oven, score the top with a sharp knife or lame, and bake covered for 30 minutes. Remove the lid and bake for another 15–20 minutes until deep golden brown. Cool on a wire rack for at least 1 hour before cutting.
This recipe works because time replaces kneading. The long, slow fermentation develops gluten naturally and creates complex flavor that would take hours of kneading to achieve by force.
How Do I Know If My Yeast Is Good?
Dead yeast is the most common reason beginner loaves don't rise. Before you mix your dough, take 30 seconds to test your yeast — it will save you hours of frustration.
- The Yeast Proof Test: Combine ¼ teaspoon of yeast with ½ cup of warm water (100°F–110°F / 38°C–43°C) and 1 teaspoon of sugar. Wait 10 minutes. If the mixture becomes foamy and bubbly, your yeast is alive and active. If nothing happens, your yeast is dead — discard it and buy fresh.
A few important notes on yeast storage: active dry yeast and instant yeast both have a shelf life. Once opened, store yeast in an airtight container in the refrigerator (up to 4 months) or freezer (up to 6 months). Always check the expiration date on the package before baking.
- Active Dry vs. Instant Yeast: Instant yeast (also called rapid-rise or bread machine yeast) does not need to be proofed and can be mixed directly into dry ingredients. Active dry yeast benefits from proofing first. For beginners, we recommend instant yeast — it's more forgiving and reliable.
How Do I Properly Proof Dough at Home?
Proofing is the process of allowing your dough to rise after shaping. It's during this stage that yeast produces the carbon dioxide bubbles that give bread its light, airy texture. Getting proofing right is one of the most important skills in bread baking.
The ideal proofing temperature is 75°F–80°F (24°C–27°C). At this temperature, most bread doughs complete their final proof in 1–2 hours. Cooler temperatures slow fermentation; warmer temperatures speed it up.
- Creating a proofing environment at home: If your kitchen is cold, try one of these methods:
- Place the dough in your oven with just the oven light on (the light generates gentle warmth)
- Set the dough near (not on) a warm stovetop
- Use a dedicated bread proofing box — a small, temperature-controlled container that maintains consistent warmth
- How to know when proofing is complete: Use the poke test. Gently press a floured finger about half an inch into the dough and watch what happens. If it springs back immediately, it needs more time. If it springs back slowly and leaves a small indentation, it's ready to bake. If it doesn't spring back at all, it's over-proofed — bake it immediately.
- The most important rule: Watch your dough, not your clock. Every kitchen is different, and temperature variations can make a 1-hour proof take 3 hours or 45 minutes. Learn to read your dough.
What Are the Most Common Beginner Bread Baking Mistakes?
After 20+ years of teaching bakers in our Puerto Rican bakeries, these are the mistakes we see most often:
- 1. Not weighing ingredients. Using volume measurements (cups) for flour introduces too much variability. Buy a scale. This single change will improve your bread immediately.
- 2. Adding salt directly on top of yeast. Salt inhibits yeast activity. When mixing your ingredients, keep the salt and yeast on opposite sides of the bowl until you start mixing. This is especially important with sourdough starters.
- 3. Using water that's too hot. Water above 120°F (49°C) will kill your yeast. Aim for 100°F–110°F (38°C–43°C) — it should feel comfortably warm on your wrist, like bath water.
- 4. Cutting the bread too soon. We know it's hard to wait, but cutting into a hot loaf releases the steam that's still finishing the cooking process. Wait at least 1 hour after baking. The crumb will be gummy if you cut it too early.
- 5. Under-baking. Most beginners pull their bread out too early out of fear of burning it. A properly baked loaf should be deep golden brown — almost darker than you think is right. Use your thermometer: the internal temperature should reach 200°F–210°F (93°C–99°C).
The Baking Bros. Philosophy: Why We Never Stop Learning
In our bakeries in Puerto Rico, we bake bread every single day. And every single day, we learn something new. A different flour behaves differently in humidity. A new shaping technique produces a more open crumb. A small adjustment to fermentation time changes the flavor entirely.
This is what we love about bread baking: it is a craft that rewards curiosity. The fundamentals we've shared in this guide will get you baking confidently. But the real joy comes from the experimentation — from asking "what if I add a little more water?" or "what happens if I let it ferment overnight?"
Bread baking is not a destination. It's a conversation between you and your dough, one that gets richer and more rewarding with every loaf.
We started Baking Bros. because we believe everyone deserves to experience the satisfaction of pulling a perfect loaf from the oven. Whether you're baking your first loaf or your thousandth, we're here to help.
Your Next Step: Get Our Free Donut Recipe
Ready to go beyond bread? Subscribe below and we'll send you our signature Puerto Rican donut recipe — the same one we've been perfecting in our bakeries for over 20 years. It's completely free, and it's the perfect next challenge once you've mastered your first loaf.
- — The Baking Bros.
- Baking in Puerto Rico for 20+ years.
Recommended Tools for Bread Baking for Beginners: Everything You Need to Know (From 20+ Years in Our Puerto Rican Bakeries)
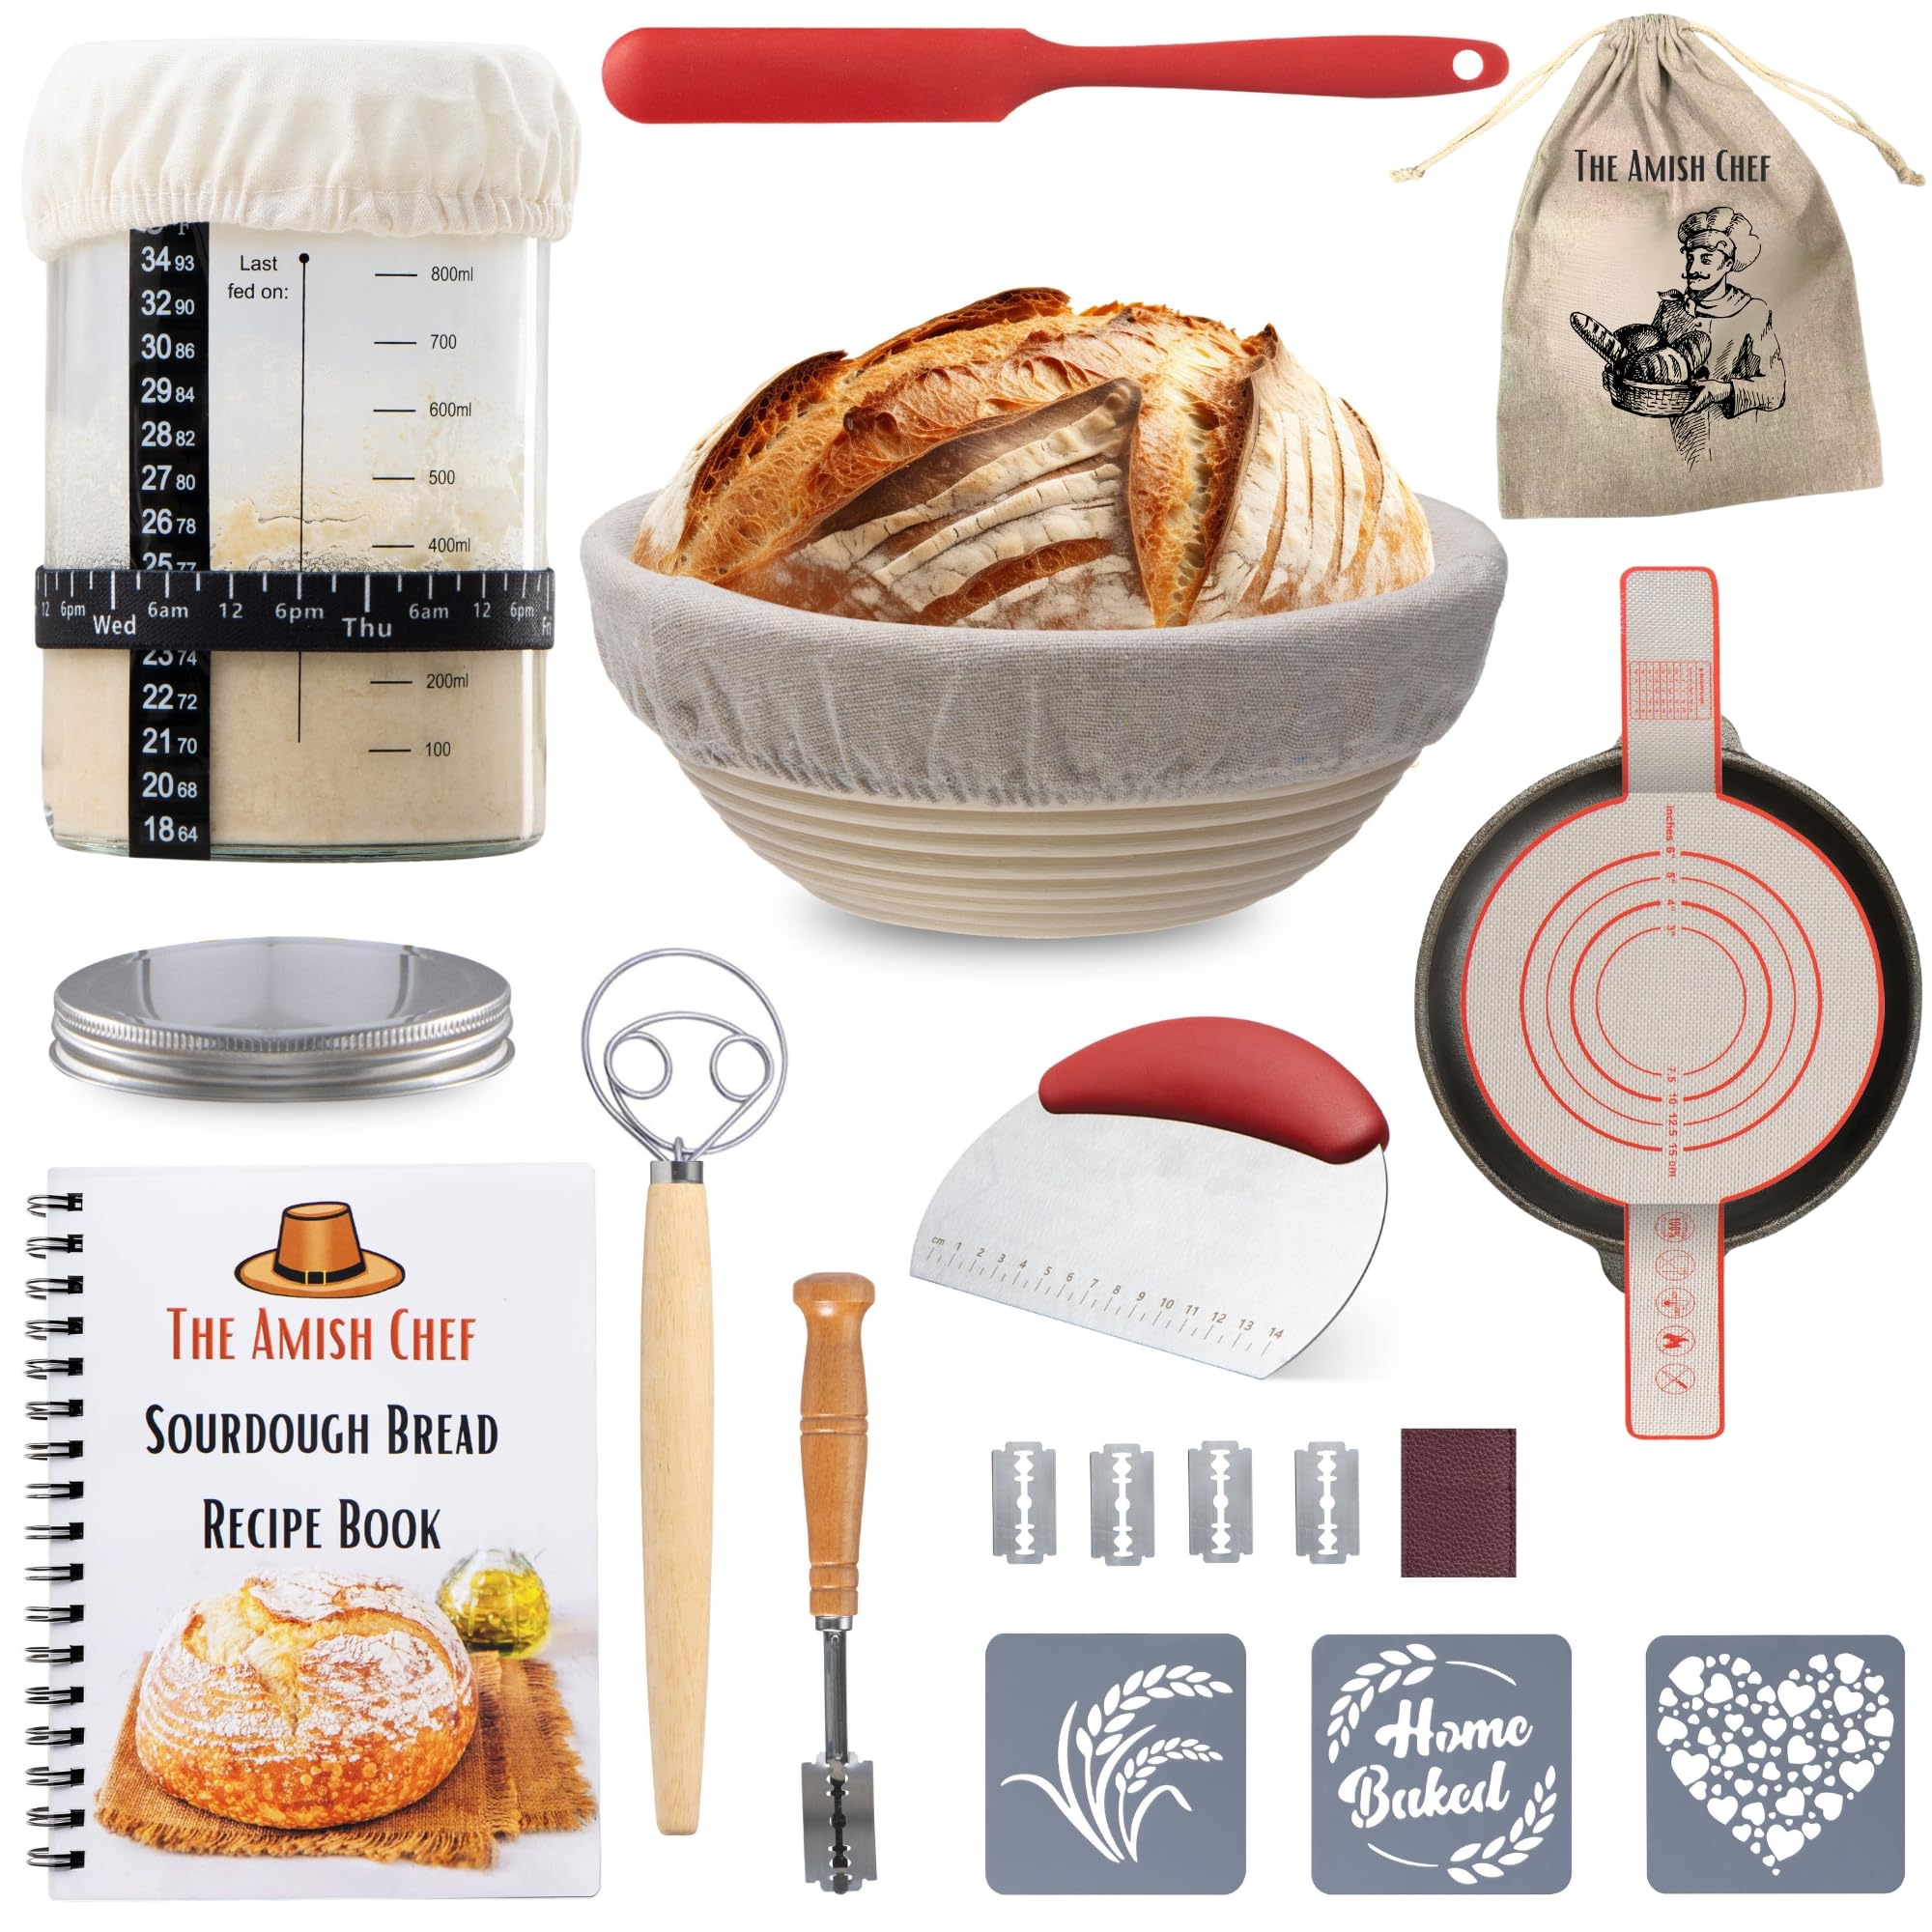
Sourdough Starter Kit with Dutch Oven and Scale
Complete sourdough baking kit with 5.5 QT Dutch oven, digital scale, banneton basket, bread sling, and thermometer. Everything you need to start your sourdough journey.
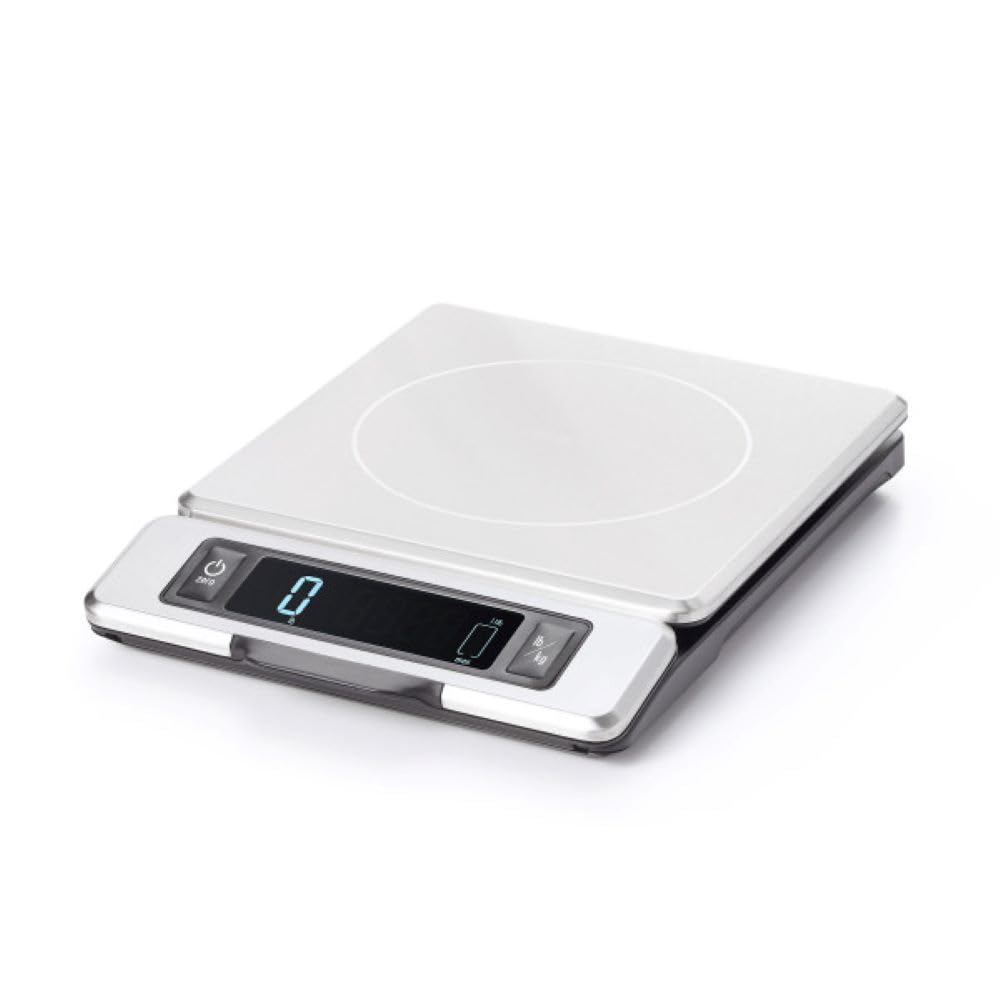
OXO Good Grips 11-Pound Stainless Steel Kitchen Scale
Precision is everything in bread. This professional-grade scale measures in 1/8 oz and 1-gram increments with a pull-out display.
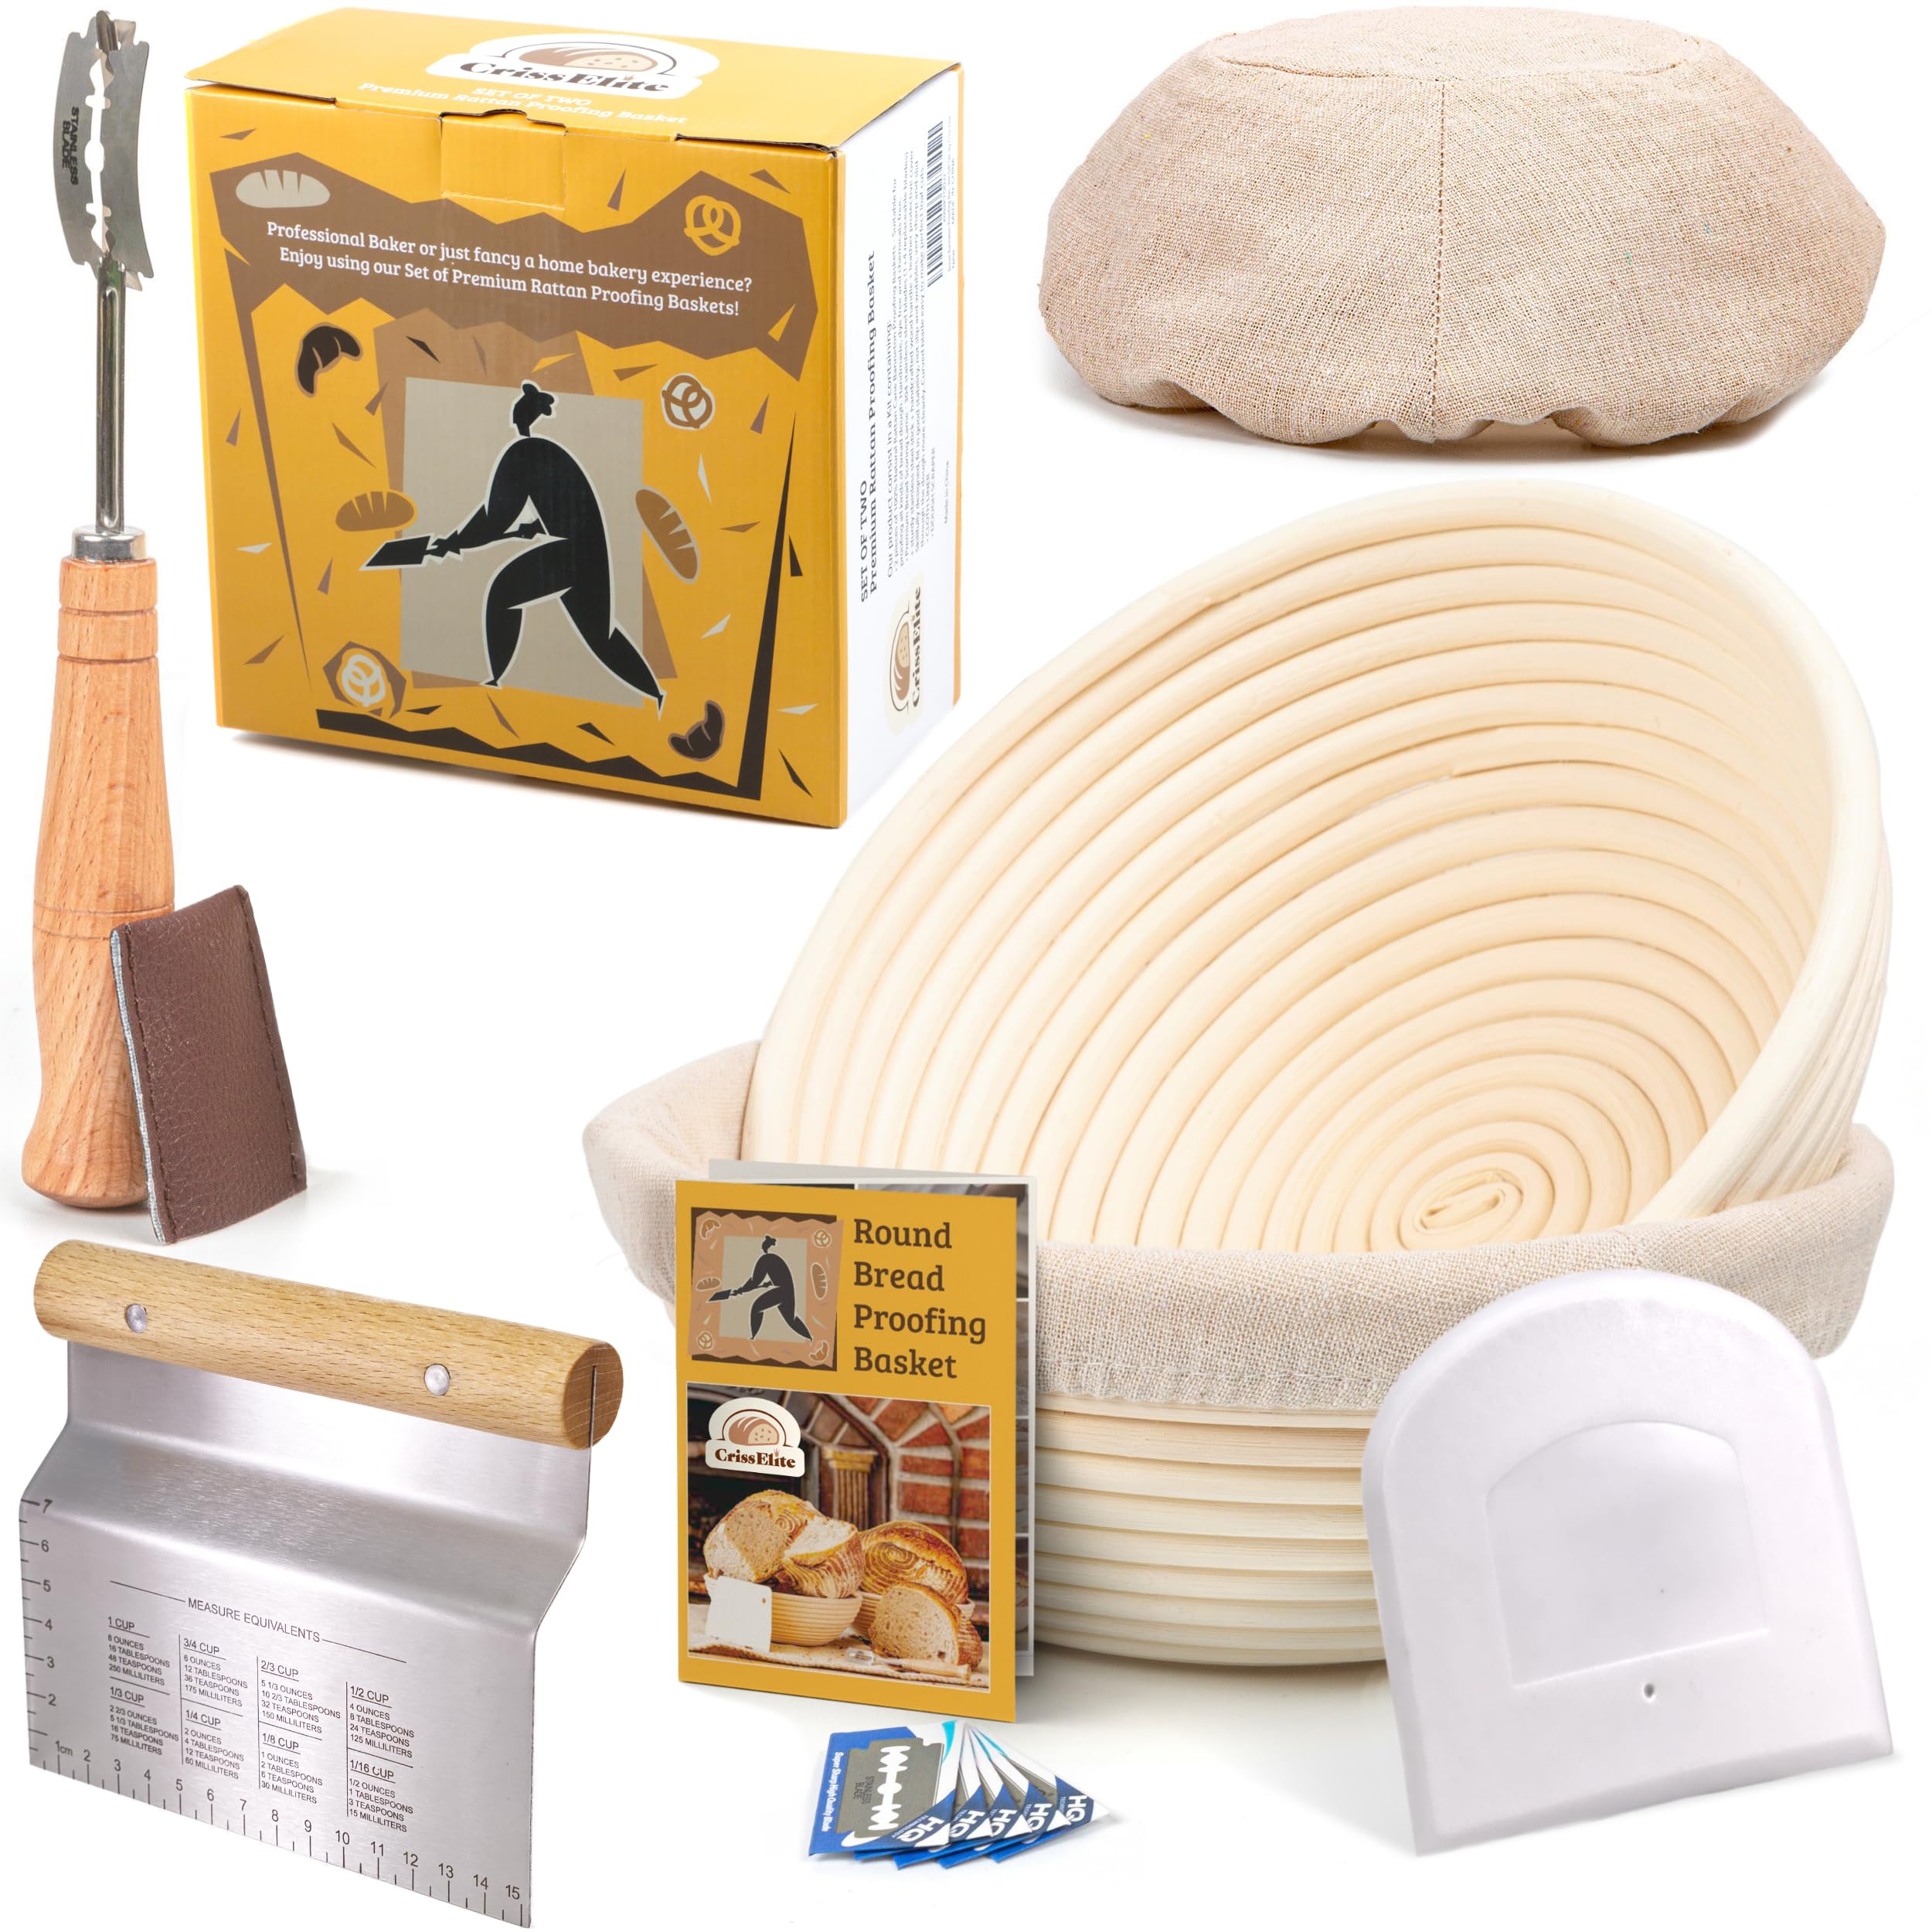
Bread Banneton Proofing Basket Set (2-Pack)
Professional rattan banneton baskets for bread proofing and shaping sourdough loaves. Includes liners for easy cleanup.
Get Your Free Donut Recipe
Subscribe to our newsletter and get instant access to our signature donut recipe, plus weekly baking tips and troubleshooting guides.
Explore Our Full Kitchen
Discover all the tools and equipment we recommend for your baking journey.
Shop My KitchenMore from breads
More articles coming soon in this category.